Simple Ways to Get a Smoother Wall Repair
The most common mistakes during drywall patching projects are poor prep, using too much compound, skipping dry time, and sanding the area the wrong way. These errors can leave bumps, cracks, or patches that stand out after paint. A good fix starts with clean edges, the right tools, and patience at each step. If you want a patch to blend in well, it helps to know what goes wrong before you begin.
Why Prevention Matters
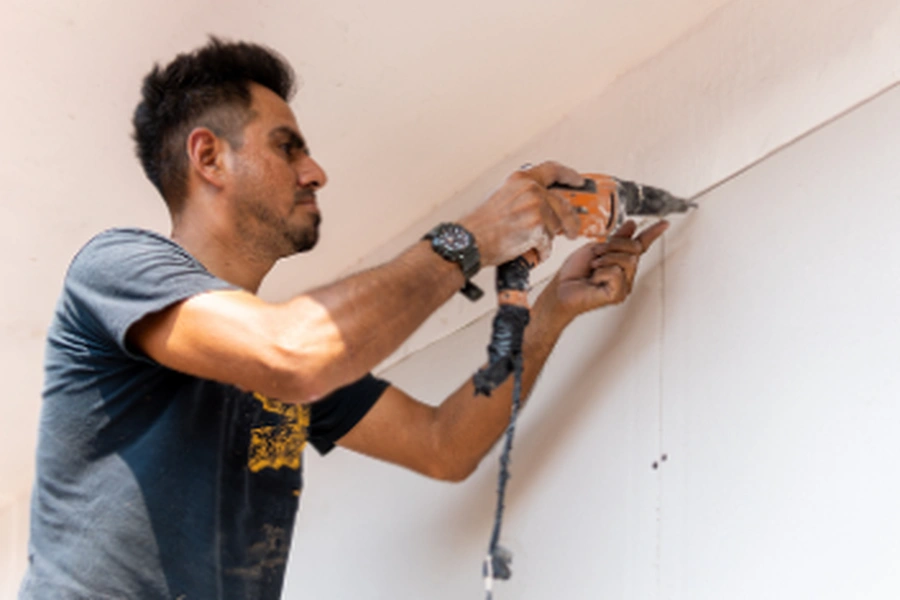
Drywall damage may look small at first. A nail hole, dent, or small crack can seem easy to fix fast. But a rushed repair often shows up later. You may see raised spots, rough edges, or a patch that flashes under paint. Preventing these problems saves time, cuts waste, and helps the wall look even. Good drywall patching is not just about filling a hole. It is about making the repair disappear.
This also matters in general home repair work. A wall patch that fails can affect the look of the whole room. In some cases, bad patching can hide a bigger issue, like moisture, movement, or poor framing behind the wall. That is why it helps to slow down and do each part the right way.
Early Warning Signs
There are a few signs that a patching job may be going off track. These signs often show up before painting or right after the paint dries. Catching them early can help you fix the problem before it gets worse.
- The patch feels soft or loose
- The surface looks higher than the wall around it
- Small cracks form around the repair
- Mesh or tape starts to show through
- The repaired spot looks rough after sanding
- Paint dries with a dull or shiny patch
If you notice any of these signs, stop and check your work before adding more mud or paint. A small reset now is better than a full redo later.
Seasonal or Routine Checklist
Before starting drywall patching, it helps to follow a simple checklist. Room temperature, humidity, and wall condition can all affect the result. If the room is damp or very cold, compound may dry too slowly. If the wall is dusty, the patch may not bond well.
- Check the wall for water stains, soft spots, or movement
- Remove loose drywall, peeling paint, and dust
- Cut the damaged area into a clean shape if needed
- Pick the right patch type for the hole size
- Apply thin coats instead of one thick coat
- Let each layer dry fully before sanding or recoating
- Prime the patch before painting
This routine can help stop many common patching mistakes before they happen. It also helps create a smoother finish that blends with the rest of the wall.
Best Practices for Long-Term Results
One of the best habits is to match the repair method to the damage. Tiny nail holes need a different fix than a doorknob hole. Using the wrong method can make the patch fail. Small holes may only need spackle. Medium damage may need tape and joint compound. Larger openings may need a backing support and a new drywall piece.
Another smart step is feathering the edges. This means spreading the compound wider with each coat so the patch blends into the wall. Many people keep the repair area too tight. That leaves a clear hump in the middle. A wider, thinner finish coat usually looks better.
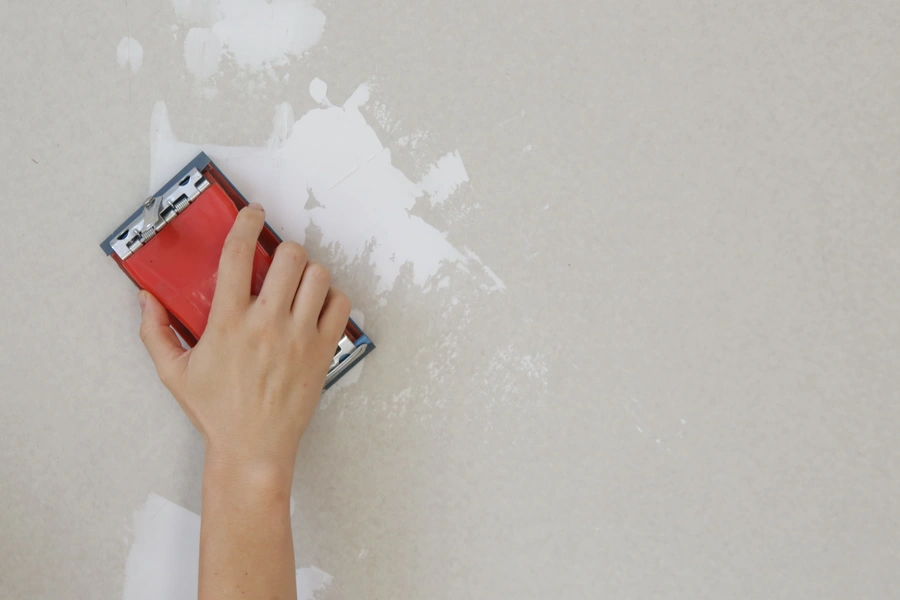
Sanding also matters. Heavy sanding can dig into the patch or scar the drywall paper around it. Light sanding with a fine grit is often enough. After that, wipe the dust away before primer. Dust left on the wall can ruin the final look.
For long-term results, take paint into account too. Even a great patch may stand out if the texture or paint sheen does not match. Priming the repair helps the topcoat dry more evenly.
What Not to Do
Many patching problems come from a few simple mistakes. Knowing what not to do can save a lot of trouble.
- Do not patch over dust, grease, or loose material
- Do not use too much water in compound
- Do not apply one thick coat to save time
- Do not sand before the patch is fully dry
- Do not skip tape when a crack or seam needs support
- Do not paint right over fresh compound without primer
- Do not ignore signs of water damage behind the wall
A common mistake during drywall patching is trying to make the wall perfect in one pass. Most smooth repairs take more than one coat. Thin layers are easier to control and easier to sand. Another mistake is using the wrong knife size. A small knife can leave ridges on a larger repair. A wider knife helps flatten the area better.
People also forget to check the wall texture. If the rest of the room has orange peel, knockdown, or another finish, a flat patch will stand out. The repair needs to match the wall around it as closely as possible.
When to Schedule Professional Help
Some wall damage is simple, but not every patch should be a do-it-yourself job. If the hole is large, the drywall is crumbling, or cracks keep coming back, a deeper issue may be present. Water damage is another red flag. Stains, swelling, or mold can mean the wall needs more than a surface repair.
You may also want help if the repair is in a very visible area. Entry walls, living rooms, and ceilings are harder to patch well because flaws are easy to see. Ceiling repairs can be extra messy and hard to smooth. If you need a patch to blend in with texture and paint, skilled help can make a big difference.
In older homes, patching can also uncover weak drywall, hidden repairs, or framing problems. In those cases, drywall patching is only one part of the job. A trained crew can find the cause and fix the wall the right way.
Get Help With Your Next Wall Repair
If you are dealing with damaged walls in Austin, TX, we can help you avoid patching mistakes that waste time and leave rough results. At Nationwide Frame & Drywall LLC, we handle careful repairs and clean finish work for homes that need a better fix. Call us at (512) 537-3316 to talk with our team and set up next steps.