Simple Ways to Get Smoother Walls and Fewer Repairs
The most common mistakes in drywall installation are poor measuring, weak framing checks, bad screw depth, loose seams, and rushing mud and sanding. These problems can lead to cracks, bumps, and walls that look uneven. If you want clean results in Austin, TX, it helps to slow down, use the right tools, and fix small errors before they turn into bigger ones.
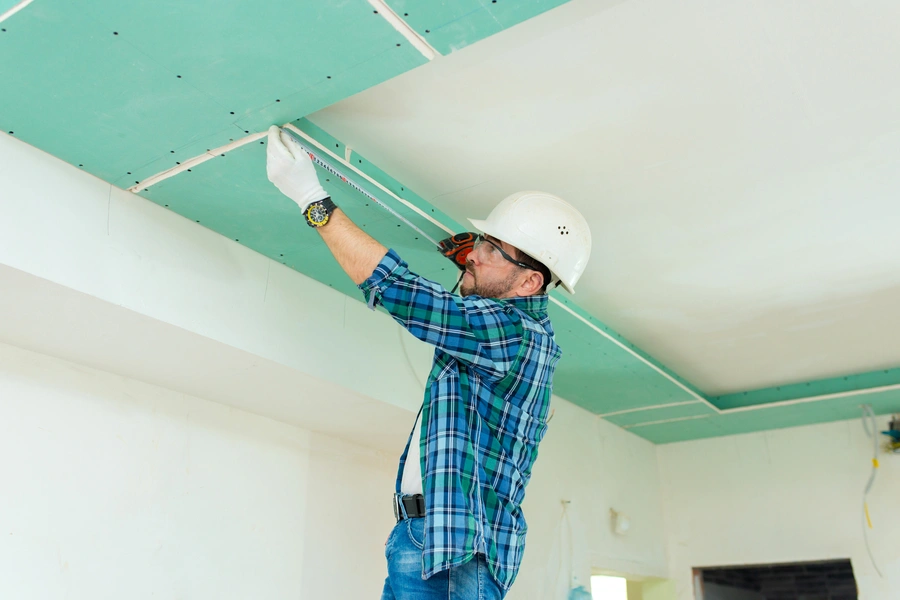
Why Prevention Matters
Drywall seems simple at first. You hang panels, add tape, spread joint compound, and sand. But small mistakes can show up fast after the job is done. A seam may crack. A screw may pop out. A corner may chip. Prevention matters because fixing finished walls takes more time than doing the work right the first time. Good prep and careful steps lead to a better finish and fewer repairs later.
Early Warning Signs
Many drywall installation problems start with signs that are easy to miss. If you catch them early, you can stop more damage. Watch for panels that do not sit flat against studs. Look for gaps that are too wide between sheets. Check for screws that tear the paper face. Notice if tape bubbles after mud is applied. Uneven edges, soft spots, and rough patches are also warning signs that something needs attention before paint goes on.
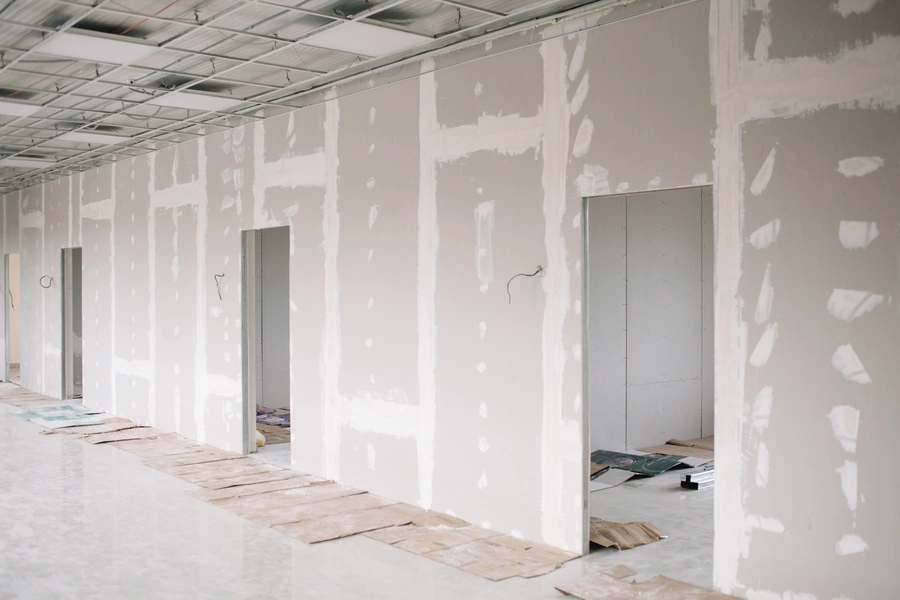
- Visible gaps between drywall sheets
- Screws driven too deep or left sticking out
- Tape lifting at seams
- Corner bead that does not line up straight
- Patchy sanding marks or ridges in dried mud
Seasonal or Routine Checklist
A simple checklist can help prevent trouble before and during drywall installation. This is helpful for full wall work, repairs, or other service category needs tied to interior finishing. Check the room first. Moisture, poor framing, and bad temperature control can all hurt the final result. Drywall and joint compound work best in stable indoor conditions.
- Measure each wall and ceiling area twice.
- Check studs for bowing, damage, or uneven spacing.
- Keep drywall sheets dry before use.
- Plan seam placement so joints land on framing.
- Use the right screw length for the wall type.
- Apply tape flat and press out air pockets.
- Let each coat of compound dry fully.
- Sand lightly instead of over-sanding the paper face.
Best Practices for Long-Term Results
Long-term results depend on good habits. Start with solid framing. If the base is uneven, the drywall will not sit right. Stagger seams when possible. This helps reduce weak lines across a wall. Use enough fasteners, but do not overdrive them. Every screw should hold the panel without breaking the paper. Apply thin coats of mud instead of one thick coat. Thin coats dry better and are easier to sand smooth.
It also helps to use the right tools. A drywall lift can make ceiling work safer and more accurate. A taping knife with a clean edge leaves smoother mud lines. Sanding sponges can help in corners and tight spots. Good lighting matters too. Shine a work light along the wall to spot ridges, dips, or missed screw heads before primer goes on.
What Not to Do
Some mistakes happen again and again in drywall installation. One big problem is skipping prep work. If you do not check framing first, the finished wall may never look flat. Another common error is forcing sheets into place instead of trimming them correctly. That can crack the panel edges and create ugly seams. Rushing the drying time between coats is also a bad move. Wet compound under a new coat can shrink, crack, or peel later.
Avoid these habits:
- Do not hang drywall over damp surfaces.
- Do not leave large gaps at outlet boxes or corners.
- Do not use too much mud under tape.
- Do not sand so hard that the tape shows through.
- Do not paint before the surface feels smooth and dry.
Another mistake is poor corner work. If corner bead is not straight, the whole room can look off. Bad sanding can also leave swirl marks that stand out under paint. Even a nice color cannot hide a wall with ridges and low spots.
When to Schedule Professional Help
Some jobs are fine for a handy homeowner. Small patches, nail holes, and simple repairs are often manageable. But full drywall installation, ceilings, stairwells, and rooms with a lot of corners can be harder than they seem. If framing is uneven, if cracks keep coming back, or if the finish needs to look very smooth, it may be time to bring in a professional.
Professional help also makes sense when moisture damage is involved. Wet drywall can hide mold, weak framing, or insulation issues. In that case, the wall may need more than a surface fix. A trained team can spot the cause, replace damaged sections, and finish the area so it blends with the rest of the room.
Get Help Before Small Drywall Problems Grow
If you are dealing with wall cracks, bad seams, or a new project in Austin, TX, we can help you make sense of the next step. Contact Nationwide Frame & Drywall LLC to talk through your drywall installation needs and get practical advice for your space. Call us at (512) 537-3316, and we will help you decide whether a repair or full replacement makes the most sense.